
Overview
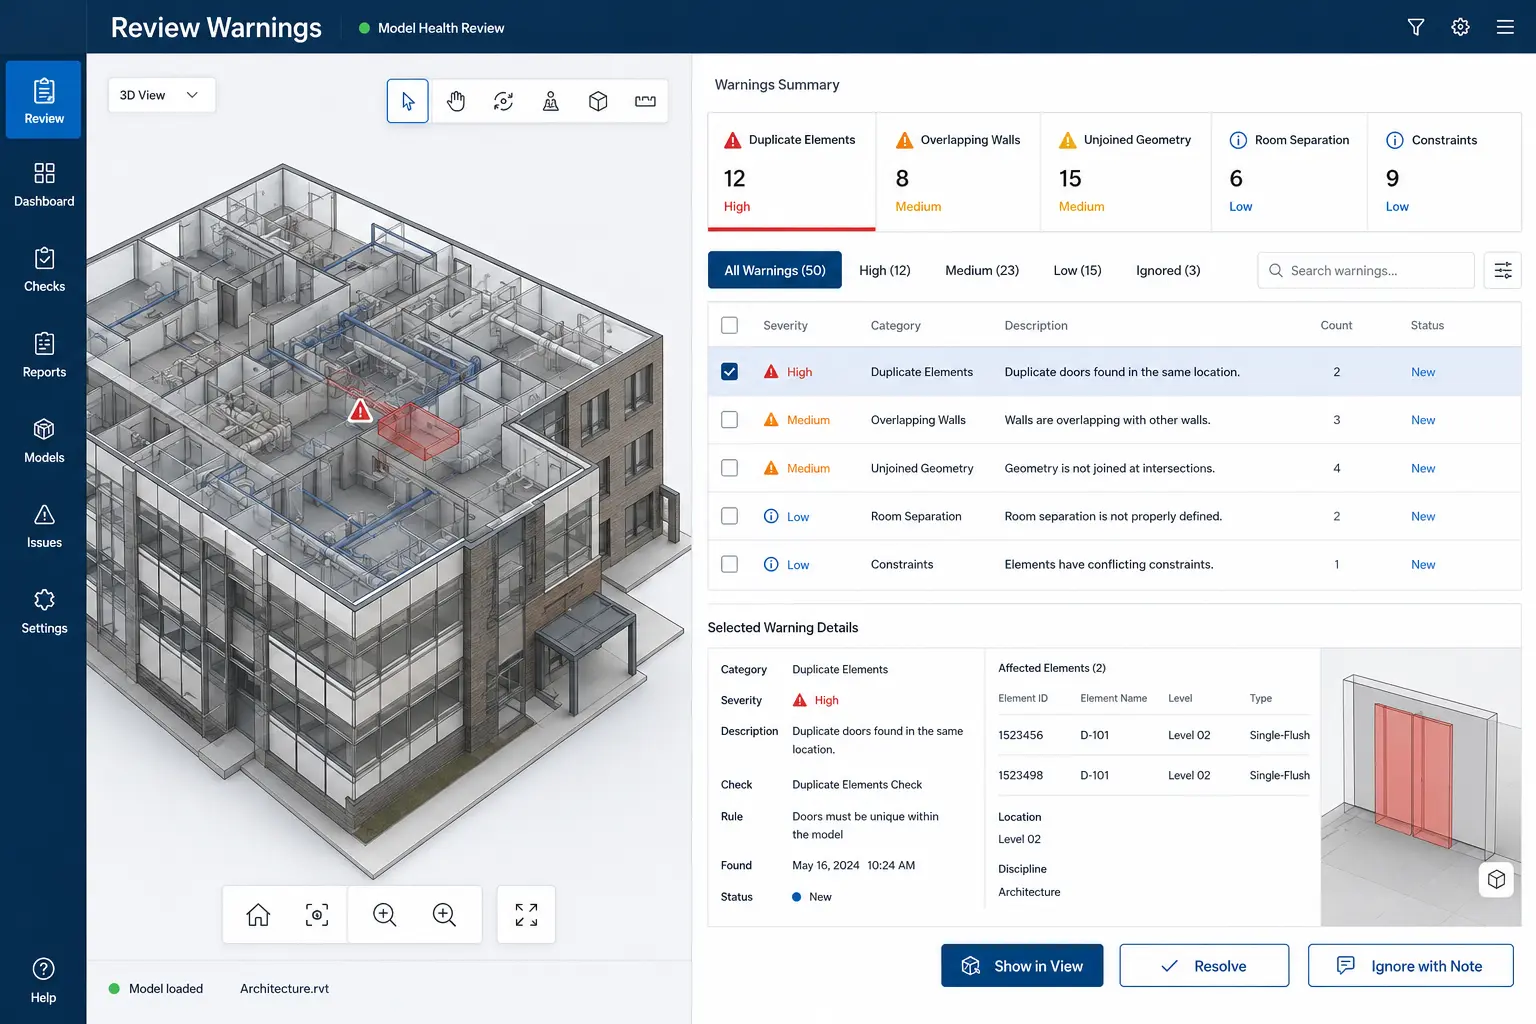
Model Warnings Manager is a Revit API QA/QC add-in for reviewing and managing persistent model warnings directly inside Autodesk Revit. The tool reads the project warning list from Document.GetWarnings() and presents the affected elements in a modeless interface so users can continue working in Revit while the warning manager remains open. Warnings can be searched by description, category, level or element ID and filtered by detected project level. Users can select, show, zoom or temporarily isolate affected elements, and in a 3D view the tool can create a focused section box around the selected warning condition. For supported warning types, conservative Auto Adjust rules can correct selected conditions such as duplicate instances, duplicate Mark values, slightly off-axis linear elements and some unhosted rebar conditions. Unsupported or complex warnings remain available for manual review rather than being modified automatically. The workflow is designed to support recurring BIM model-health checks while keeping potentially destructive operations visible and user-controlled.
Key features
- Persistent Revit warning collection — load the current project warning list directly from Document.GetWarnings().
- Modeless warning manager — keep the review window open while continuing to work in Revit.
- Searchable warning table — search warning text, categories, levels, element IDs and auto-adjust status.
- Level-based filtering — filter warning rows by the detected project level of affected elements.
- Level detection fallback — use direct Revit level information where available and nearest-level bounding-box logic for elements without a direct level assignment.
- QA/QC dashboard metrics — display total warnings, unique affected elements, checked warnings and currently visible warning rows.
- Affected-element selection — select all valid model elements associated with the chosen warning.
- Show and Zoom — navigate directly to the elements responsible for a warning.
- Temporary isolation — isolate warning-related elements to simplify investigation.
- 3D Selection Box review — create a focused section box around affected elements when reviewing warnings in a 3D view.
- Reset review controls — reset temporary isolation and the active 3D section box after investigation.
- Batch warning selection — check multiple warning rows for supported batch actions.
- Conservative Auto Adjust — automatically correct only supported warning types and leave unsupported conditions for manual review.
- Duplicate-instance adjustment — retain one element and remove duplicate non-pinned instances with matching type/category/location where supported.
- Duplicate Mark adjustment — resolve supported duplicate instance Mark warnings by assigning unique Mark values.
- Slightly off-axis adjustment — straighten supported linear elements that are close to horizontal or vertical.
- Rebar host recovery — search nearby legal Revit hosts for selected unhosted rebar warnings and assign a suitable host where supported.
- Controlled deletion — optionally delete checked warning-related Revit elements after user confirmation.
- Manual Refresh Now workflow — reload the warning table after model edits without background DocumentChanged tracking.
- Double-click warning review — select and zoom to a warning condition and apply a 3D review box when applicable.